Showing posts with label behind the scenes. Show all posts

Monday, May 27, 2013

Animation Timelapse: Curio

I made some time lapses of the animation of a couple of shots.
The first one is a couple of shots I did in a row. These are all the mirror shots from the locker scenes.

This lapse is of the second shot in the stop motion world. There is a lens shift and I also decided to change the camera set up and after blocking. 


Tuesday, April 30, 2013

Puppet : Casting, Seaming, Painting

During the of making the puppet there are often times more than one process going on.
One of these processes is the armature.

Here are the freshly welded feet, pelvis, and torso that will go inside of the puppet.


These pieces are cut down to size and braided wire is epoxied in.


 A coat of paint is put on top of the final armature to prevent the brass from eating away the foam.


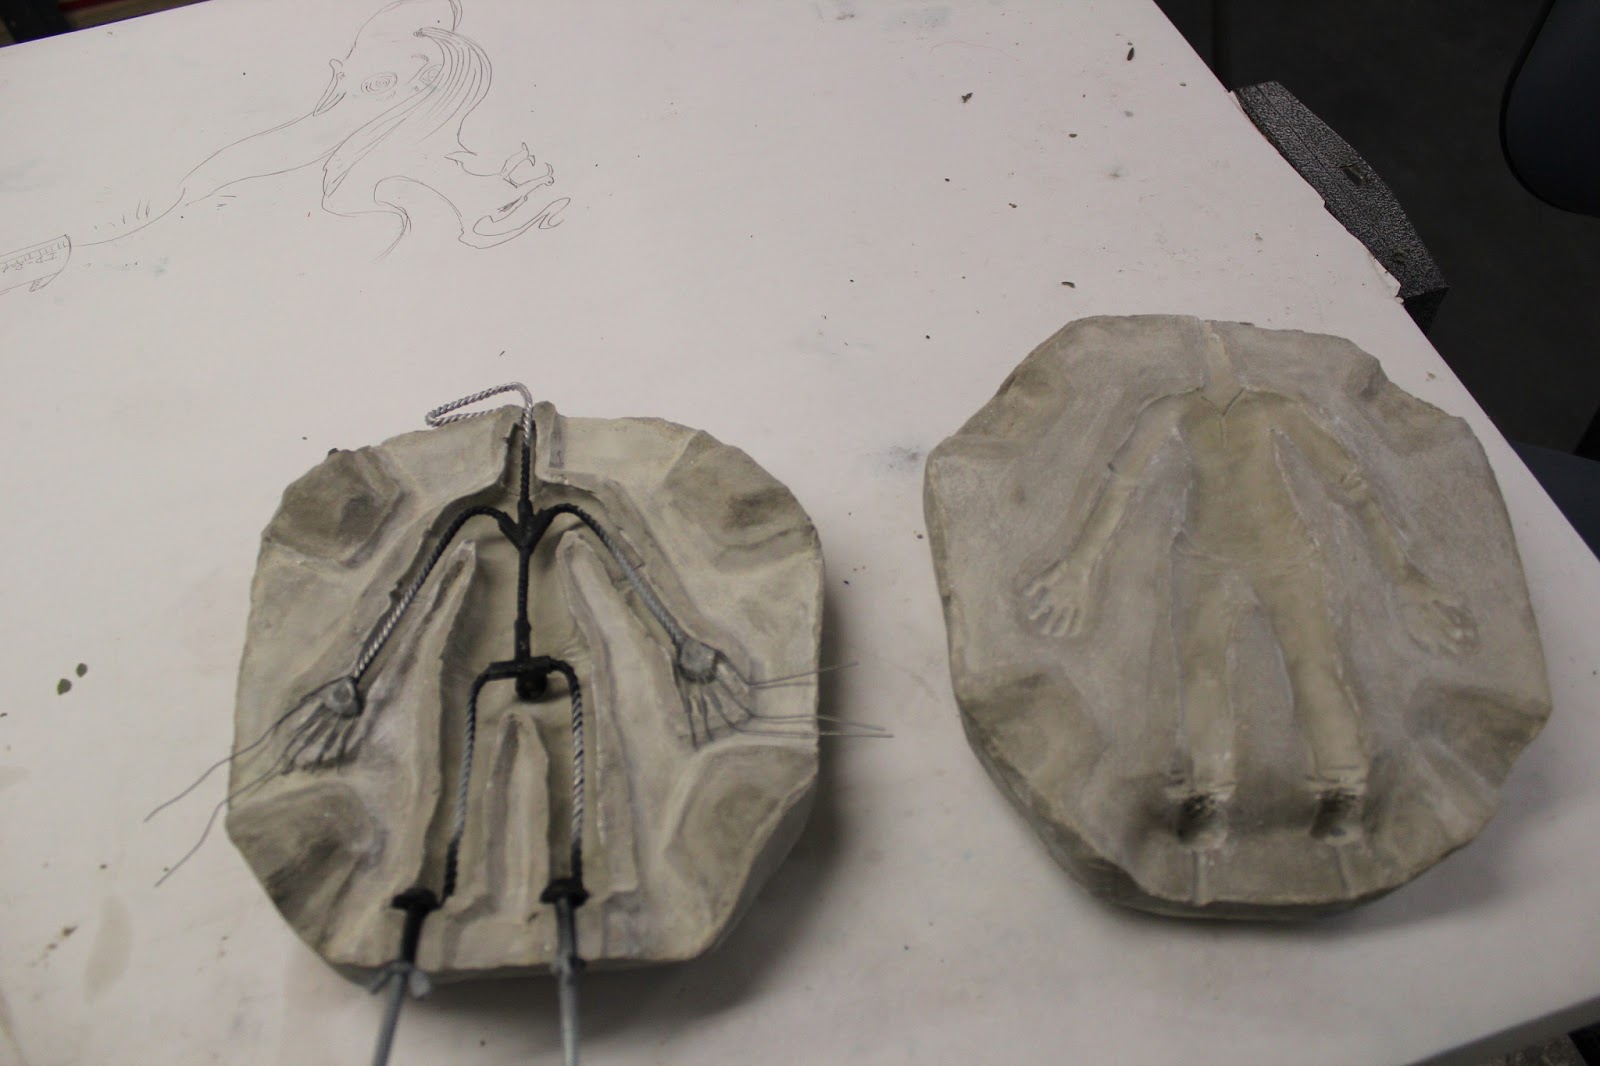
 The armature is made to fit perfectly into the mold.


Mold release is applied to prevent the foam from sticking to the mold.


After whipping up the foam and baking it for 5 hours the puppet comes out of the mold with flashing.


This flashing is then trimmed down.


 Then a wood burner is used to assure that there is no extra flashing.


 Prosaid paste is used to smooth the seams and fill in an holes in the foam.

 Finally the puppet is primed and painted.


Laundry starch is used to set the paint and cut the shine factor.


Meanwhile the head is sculpted and a mold is made. This was the sculpt after it came out of the molde.


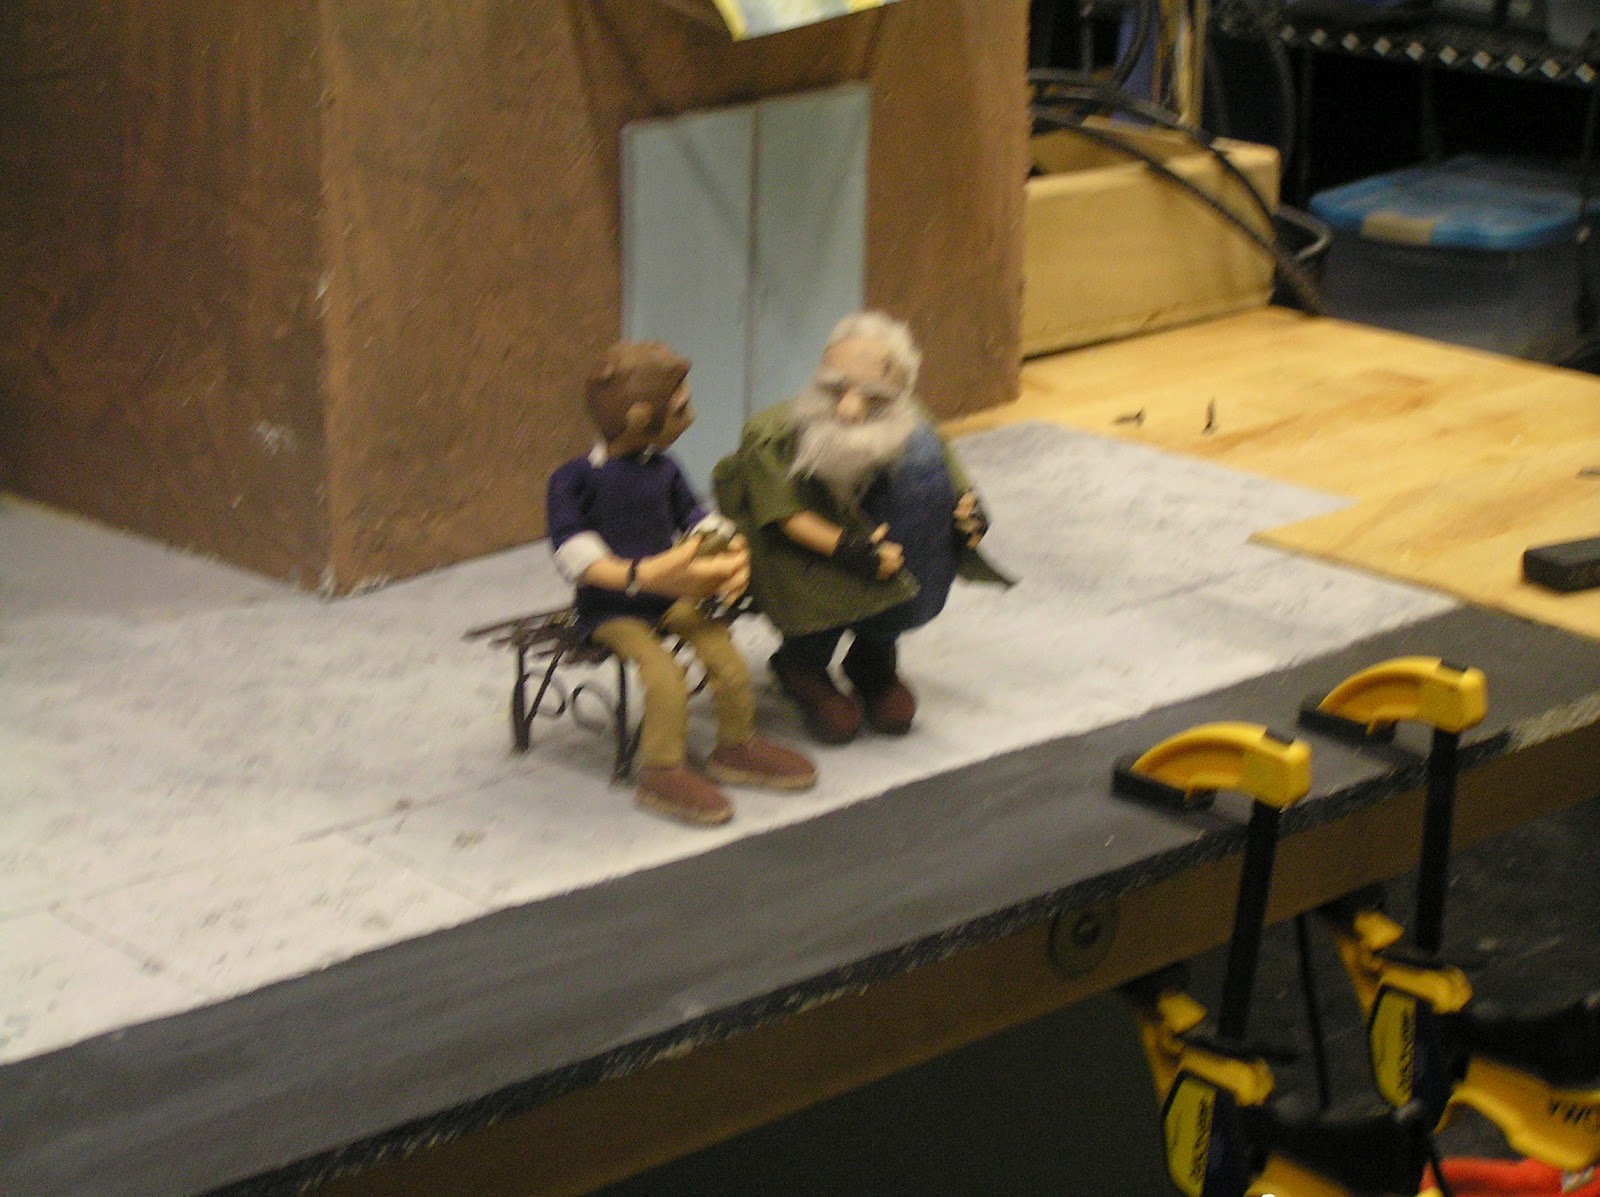
Finishing touches like hair, eyes, and mouth are added to make a final puppet. This head is a 3D print from the new 3D scanner our school has blow up a little larger. Curio is the first film on our campus to use the 3D printer and scanner. 


Saturday, April 27, 2013

Mold Making

Here is my process for making the mold for my puppet.

First I take the sculpt and bury it halfway in water based clay. It is sprayed with a coat of crystal clear.


 Next I begin building up layers of ultracal on top of the sculpt and clay.


 Wait five minutes and add another layer.


 And another.


Burlap soaked in ultracal is added in the next layer to protect the mold from breaking.


 Finally a super layer of ultracal is added and a few hours are given to let it set up.


 Then work on the second half of the mold starts. The water base clay is removed and then cleaned off. The edges of the first half of the mold are filed to remove the sharpness.

 Channels for a tight seam and being able to pry the mold apart are made out of water base clay.


 A coat of vasoline is put on any part of the first half of the mold exposed and crystal clear is put on top.


Then the whole building up process of ultracal happens again.


 Until finally the mold is set up and pulled apart.


 The original pattern usually does not survive this process.


 The last step is to clean up the mold, rinsing out the water based clay, pattern, and vasoline.


Thursday, April 11, 2013

Curio: Puppet - Pattern

My Sr. Project is well underway and I'd like to catch everyone up on it. I focused mainly on the puppet for this project. 


Brittany our actress.

The body of our Brittany puppet.


This is only the first step of many in the puppet making process. Stay tuned for more.

Thursday, May 3, 2012

Common Ground: Wrap Up

So we are on our final week of production. Friday at 10 is our deadline, so here is hoping. Right now the reel has been turned over to Matt Nelson for sound. I'm working on making smoke, which was the only thing I've animated this semester. We took our set down today also. This is such a sad, yet happy feeling. I'll see all my props and sets again in a year when i set them up for senior gallery.

Our wrap up todo list

Mike's poster pose

tear down, Nelson is actually helping not just photo bombing

Take 1 


Animating Smoke

No longer my home (Matt Nelson's set is in the front and the one in back is Johan Leev's)


My poor set in storage

Thursday, April 26, 2012

Behind the Scenes at Common Ground: Animation Complete!!!!!!

So we just wrapped on our final shot for Common Ground earlier today. Well I guess it's yesterday now since it is past midnight now. I've kinda fallen back on the blog post lately since I've been focusing on getting these last few shots done. So I'll be adding the photos from the past couple of shots.


Working on edging pieces

the building with the edging

The shape of the bus by Matthew Weener and I've started on carving out the windows

my graffiti and trash can

Awning (for some reason the whole time I worked on it I couldn't think of this word)

The bus all finished

ready to shoot shot 4

Diann Malcolm painting my firetruck

The finished firetruck

Shot 13 in progress


The beginnings of the fire scene


Darkening the thomas cole painting

the painting looks so interesting this way

Debris and ash on the steps

I think the firetruck is slacking off

The painting burned